Most hunters talk about “playing the wind” like it’s a simple on/off switch. Wind in your face, go hunt. But whitetails live in a three-dimensional world of shifting air—morning cold-air sinks, midday ridge roll-offs, and invisible “thermal tunnels” that let them smell danger you never see coming.
If you want to consistently kill mature deer, you can’t just check the forecast and call it good. You need to understand how wind, thermals, and terrain interact on your specific ridges, draws, and bedding areas—and then shape your access, setups, and shot opportunities around that.
Tools That Make Thermal Reading Easier
You don’t need a truck bed full of gear to hunt thermals well, but a few tools make a huge difference:
- Windicators: Fine, floating fibers or powder to show micro-winds and thermal pulls.
- Rangefinders: To confirm steep, angled shots off ridges and across draws.
- Mapping tools: Quality topo/aerial mapping apps to visualize ridges, benches, bowls, and drainages.
Throughout this article, we’ll call out exactly where each tool shines and how to use it in real-world setups.
Thermals 101: The Air You Can’t See
Wind is what you feel on your face when you step out of the truck. Thermals are the quieter vertical movements of air driven by temperature differences between the ground and the air.
- Cool air is heavy and tends to sink into low spots, cuts, and creek bottoms.
- Warm air is lighter, and tends to rise up ridges, hillsides, and timbered slopes.
- Thermals are strongest at transition times,—the first few hours after daybreak and the last few hours before dark.
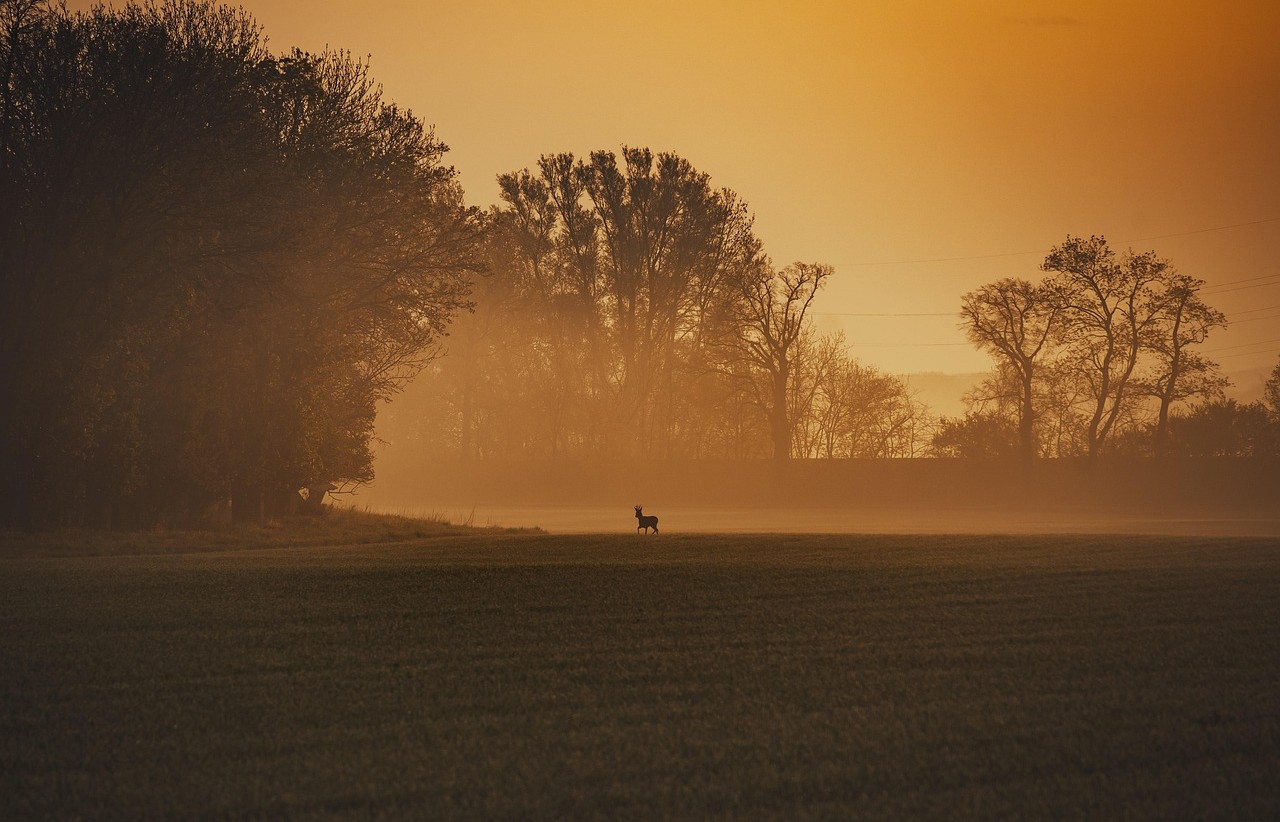
Whitetails live inside this invisible river. Mature bucks position themselves where wind and thermals layer together so they can smell danger from multiple directions while still seeing or hearing what they can’t smell.
Morning Cold-Air Sinks: How Deer Ride the Drainages
Before sunrise and in the first hours of daylight, the ground is cooler than the air above it. That cool, dense air flows downhill like water, pooling in bottoms, creek beds, and low benches.
Deer understand this better than we do. They’ll often bed where they can look down into those cold-air sinks while letting the falling thermals carry scent from above them, down the slope, and across their nose.
Where Morning Cold-Air Sinks Form
- Long timbered draws that dump into a creek or river bottom.
- Bowl-shaped hollows, especially with shaded north or east-facing slopes.
- Soft, gradual benches perched just above the absolute lowest elevation.
In many hill-country spots, cold air will drain down from the top third of the ridge, follow subtle ditches and skid roads, and settle in the main valley. Bucks use these “scent rivers” like a security system.
How to Hunt Morning Cold-Air Sinks
Your goal is to intercept deer traveling along or above the sink without dropping your own scent directly into it.
- Use mapping tools to identify likely drainages and low bowls. Look for narrow draws leading from bedding ridges to ag fields or oak flats.
- On the ground, use a windicator at first light. Watch how the fibers drop— you’ll actually see the air sliding downhill and pooling in the low spots.
- Hang stands or set up just off the bottom on the lower third of the side hill, where your scent drains below the main travel path but you’re not sitting in the cold-air puddle.
- Use a rangefinder on steep angles off your tree. Shots that “look” 25 yards might range 32 when you’re side-hilling above the sink.
Ridge Roll-Off Thermals: The Midday Mixer
As the sun climbs, the ground begins to warm and thermals flip. Instead of sinking, air starts to rise up the hillsides. On ridges, that rising air often meets the prevailing wind and “rolls” over the top like a breaking wave.
This is why you can stand on a ridge with a forecasted west wind and watch your windicator drift up, then curve, then tumble back down behind you. To a mature buck, that “ridge roll-off” is a goldmine: he can stand on the sidehill, a third of the way down, and smell what’s on top, what’s below, and what’s blowing over.
How Deer Use Ridge Roll-Offs
- Side-hilling just below the crest: Bucks often travel slightly off the top where they get rising thermals from below + wind washing over the top.
- Checking doe bedding: They’ll scent-check doe beds on different fingers and knobs by slipping along the side where the air is rolling.
- Daytime staging: In pressured areas, bucks may bed just off the top on the leeward side, using the roll-off to monitor hunter access from below or above.
How to Set Up on Ridge Roll-Off Thermals
- Use your mapping app to find long ridges with multiple side fingers and leeward bedding areas.
- Walk the sidehills with a windicator. You’re looking for that “swirling” band where the air seems to lift, roll, and then fall—often 1/3 down from the top.
- Set your stand just off the main trail in that band, using cover to break up your silhouette. Aim for a slight crosswind so your scent drifts off the safe side of the ridge instead of straight into the travel path.
- Confirm all shooting lanes with a rangefinder. Midday thermals can change arrow flight angles more than you expect on steep ground.
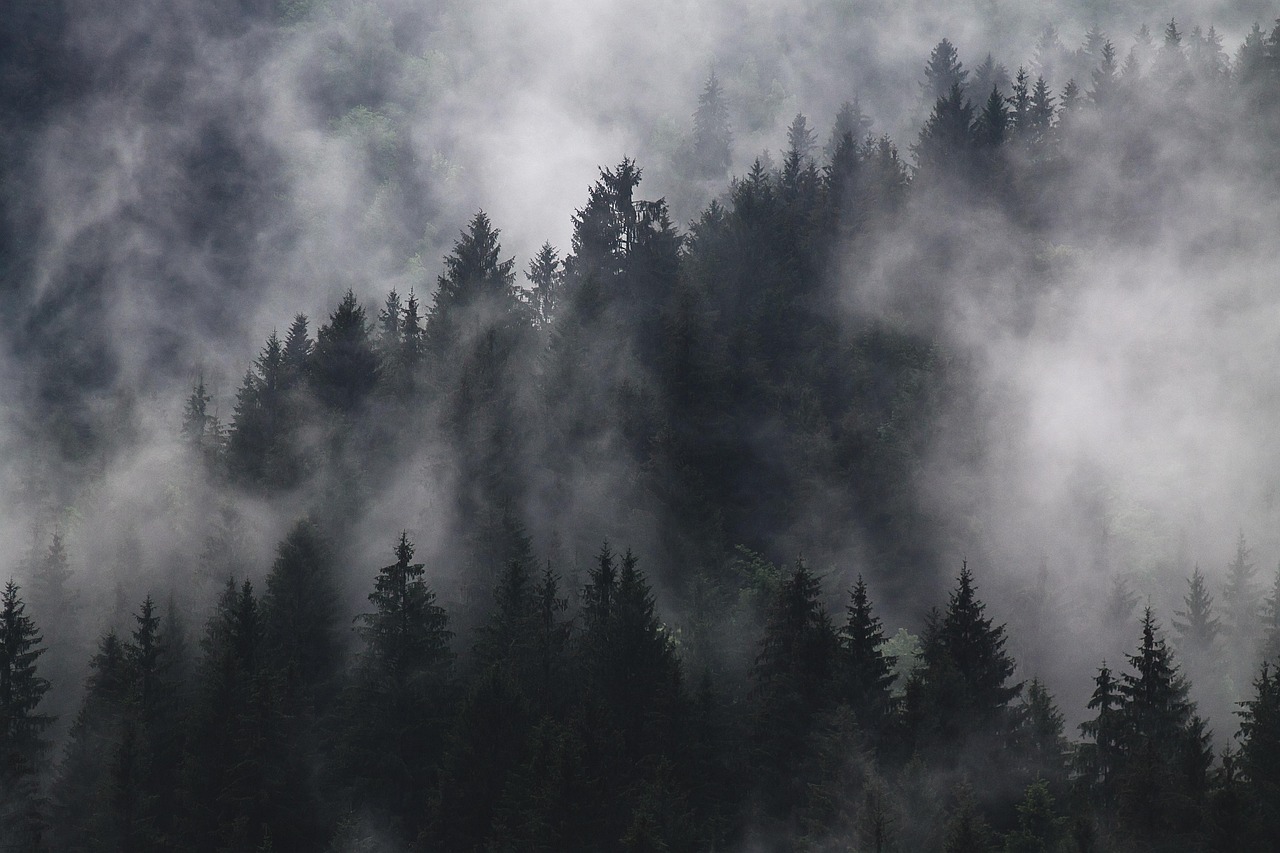
Thermal Tunnels: The Deer Highway You Can’t See
A thermal tunnel is a narrow band along the hillside where prevailing wind and thermals meet and run parallel to the slope. Picture a smoky ribbon of air wrapping around the hill at a consistent elevation.
In many classic hill-country spots, that tunnel sits roughly one-third down the leeward side of the ridge. That line lets a buck smell both what’s below and above, as well as what’s being carried over the top by the wind.
Finding Thermal Tunnels on the Map
- In your mapping tool, look for steep ridges dropping into a consistent valley wind. Note the side of the ridge opposite the prevailing wind forecast (the leeward side).
- Mark the 1/3 elevation line down from the top on that side. That’s your starting guess for where the tunnel will run.
- Note saddles, benches, and side spurs that intersect that line. These are common travel “nodes” where multiple scent streams cross.
Ground-Truthing Thermal Tunnels with Windicators
Once you’re on the ridge, it’s time to test your theory:
- Walk a slow zig-zag from the ridge top down the side, stopping every 10–15 vertical feet.
-
At each stop, use your windicator and watch the floaters.
You’re looking for a band where the wind:
- Doesn’t pull straight up or straight down.
- Slides along the hill instead, wrapping with the terrain.
- Mark that elevation in your mapping app as a “thermal tunnel” and note exact trees, rub lines, scrapes, and tracks in that band.
Once you’ve found it, you’ll notice something: trails, rub lines, and historical sign often parallel that tunnel. Bucks didn’t “randomly” choose those paths—they evolved around that flow of air.
Gear Spotlight: Simple Kit for Mapping Your Thermal Tunnel
- A fine-fiber wind indicator that hangs in the air long enough to show subtle side-hill drift—not just a quick puff that drops straight down. Cattail fluff works great.
- A mapping app with topo + aerial layers so you can drop pins on exact elevation bands.
- A compact rangefinder to verify distances across the sidehill where shots can be deceiving.
None of this gear has to be fancy—but using it deliberately will teach you more in one season than a decade of hunting “by feel.”
Evening Flip: When Cold-Air Sinks Return
As the sun drops, the process reverses. Slopes cool, thermals weaken, then the air starts to flow downhill again. This is where many hunts get blown—literally.
You might climb into an evening set with rising thermals helping you, only to have them switch and dump your scent straight into the food source or bedding travel route during the last 30–45 minutes of light.
How to Plan for the Flip
- Choose evening stands where the eventual downhill pull sends your scent into “dead” ground: thick cover you don’t care about, a deep ravine, or an area deer don’t use.
- Use your mapping tool to visualize where air will drain once it cools (follow the contours like you’re pouring water down the hillside).
- Keep your windicator handy the entire sit. When you see floaters stop rising and start drifting down, you know the clock is ticking on that stand.
Building Your Own Thermal Map: A Simple Field System
The hunters who consistently kill mature deer on pressured ground aren’t just “lucky with the wind.” They’ve quietly built a mental map of how air actually moves across their spots in every condition.
Step 1: E-Scout the Bones
-
Open your mapping app and identify:
- Major ridges and side fingers.
- Primary drainages, creeks, and low bowls.
- Likely bedding (points, benches on leeward sides).
- Sketch in your head where morning cold-air sinks will form and where thermal tunnels might run on leeward hillsides.
Step 2: Ground-Truth with Windicators
- Walk your access routes and likely stand trees with a windicator in hand.
- Test at different times: early morning, late afternoon, even during a mid-day scout. Note how the air changes as the sun angle shifts.
-
Drop pins in your mapping tool any time you find:
- A consistent thermal tunnel band.
- A particularly strong morning sink.
- A nasty swirl you want to avoid.
Step 3: Lock in Shot Windows with a Rangefinder
- From each potential stand, use your rangefinder to mark realistic shot distances across sidehills, into bottoms, and along the tunnel trail.
- Consider how thermals will be moving at prime time when those shots are most likely.
- Adjust stand height or position a tree or two if needed to keep both scent and shot angle in your favor.
Hunt the Air, Not Just the Sign
Big rubs, fresh scrapes, and heavy tracks are exciting, but sign is only half the picture. If you’re not thinking in 3D—wind, thermals, and terrain together—you’re hunting where deer are comfortable when you’re not there, not necessarily where they’re killable when you are.
The good news? You don’t need secret spots or private farms to start beating noses. You just need to slow down and hunt the air: use a windicator every time you step into the woods, lean on a solid rangefinder to confirm your shots, and take your mapping tools seriously enough to log what you learn.
Do that over a couple seasons and you’ll build something more valuable than any single hot stand— a personal thermal blueprint of your whitetail woods. Once you see how deer truly ride the invisible currents, it’s hard to go back to just “hunting the wind.”